







































Perkins 1104 Overheating & Leaks: Water Pump & Thermostat Fix
by Megawatts - Updated At 2026-07-31
Alert: High-temperature warning lights signal immediate peril for industrial engine operators.
Unchecked engine overheating damages cylinder heads quickly. Cooling system malfunctions account for approximately 50% of total engine breakdowns in machinery. Stuck thermostats and worn pump shaft seals trigger common Perkins diesel engine problems. Unresolved coolant loss and unnoticed coolant leaks cause severe thermal shutdowns. Routine maintenance prevents catastrophic equipment failure and extensive engine damage. Mechanics must locate every leak immediately after a warning alarm activates. Follow these actionable diagnostic steps and mechanical repair procedures to solve Perkins 1104 overheating.
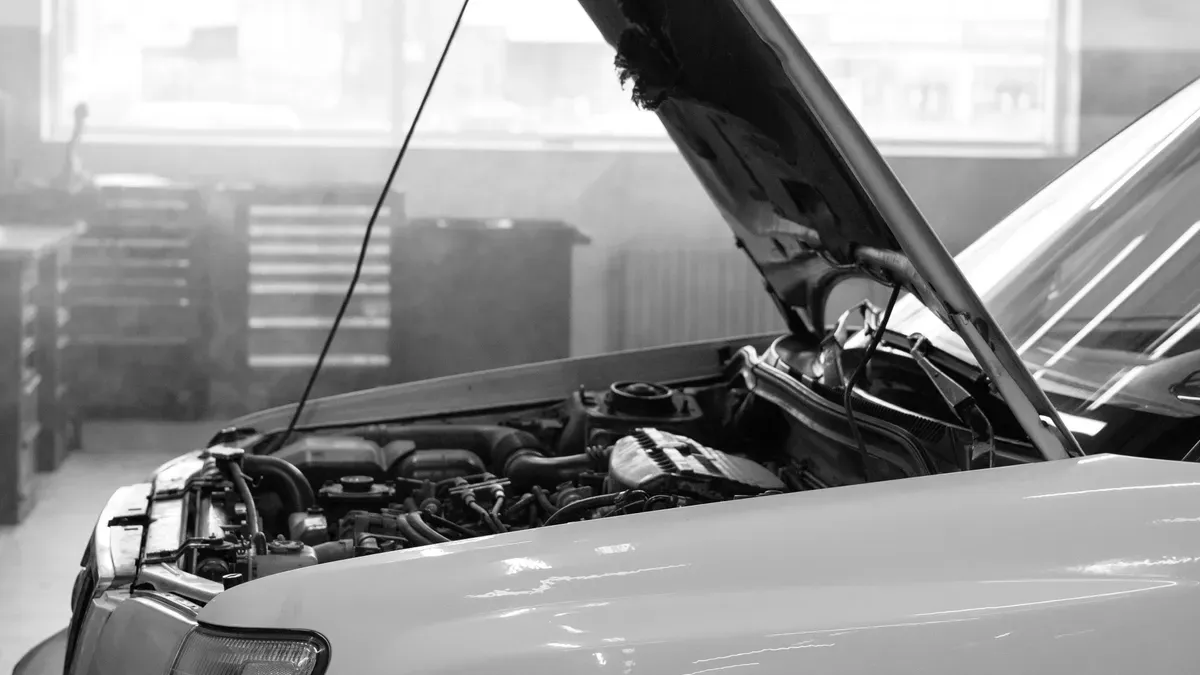
Root Causes of Perkins 1104 Overheating
Thermostat Seizure and Rapid Temperature Spikes
Warning: A stuck thermostat stops heat dissipation and causes rapid internal engine damage.
A primary driver of Perkins 1104 overheating is mechanical failure inside the thermostat. The internal valve regulates fluid movement through the engine block. A valve stuck closed completely blocks coolant flow toward the radiator. Thermal energy builds rapidly inside the cylinder head after startup. Uncontrolled engine overheating expands internal metal components beyond safe operating limits. Operators should monitor gauge movements to detect early warning signs before severe engine component breakdown occurs.
Head Gasket Blow-By and Radiator Blockages
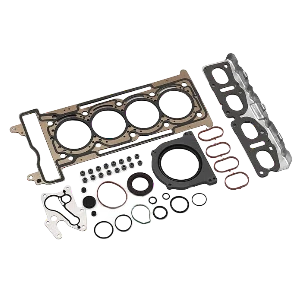
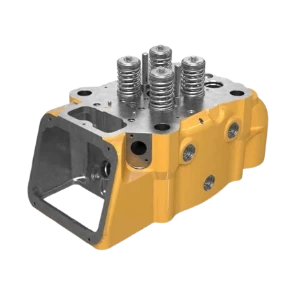
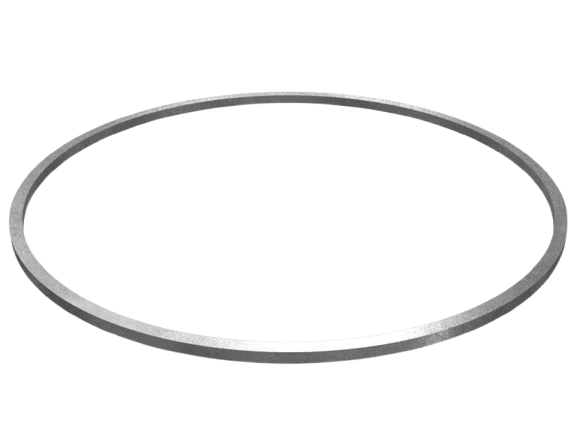
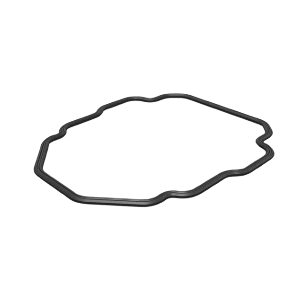
Head gasket failure creates severe Perkins diesel engine problems during heavy operation. A compromised cylinder head gasket provides an entry pathway for combustion gases to infiltrate the cooling circuit. Once introduced, these gases create bubbles and trap air inside the coolant, disrupting normal coolant circulation and impeding effective thermal energy absorption from engine components. High combustion pressure triggers a critical overheating condition and forces emergency engine shutdown. If combustion gases are infiltrating your cooling circuit, seal the breach immediately with the U5LT0357 Perkins Gasket Kit - Top for Perkins 1104A-44TG1 SERIES(RS51276R) to restore cylinder head integrity and permanently stop thermal build-up.
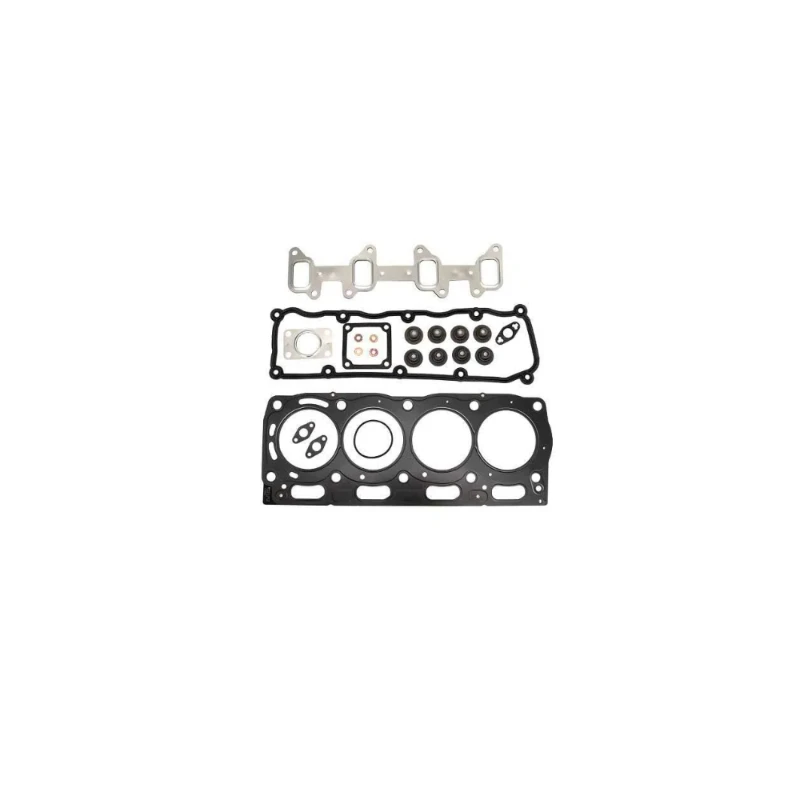
U5LT0357 Perkins Gasket Kit - Top for Perkins 1104A-44TG1 SERIES(RS51276R)
$197.09
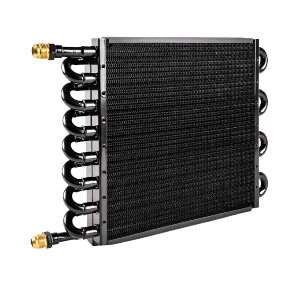
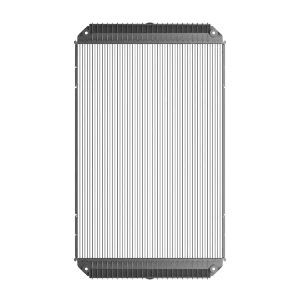
External airflow obstructions also cause rapid thermal build-up on Perkins machinery. Technicians must inspect radiator fins for dirt debris regularly. Clean passages ensure continuous heat extraction from the Perkins diesel engine. Furthermore, mechanics must verify fan belt tension on Perkins 1104D-44T models. A loose belt reduces fan speed, triggers an unexpected warning light, and jeopardizes overall cooling system performance. Correcting these mechanical issues protects engine reliability.
Locating Perkins 1104 Coolant Leaks
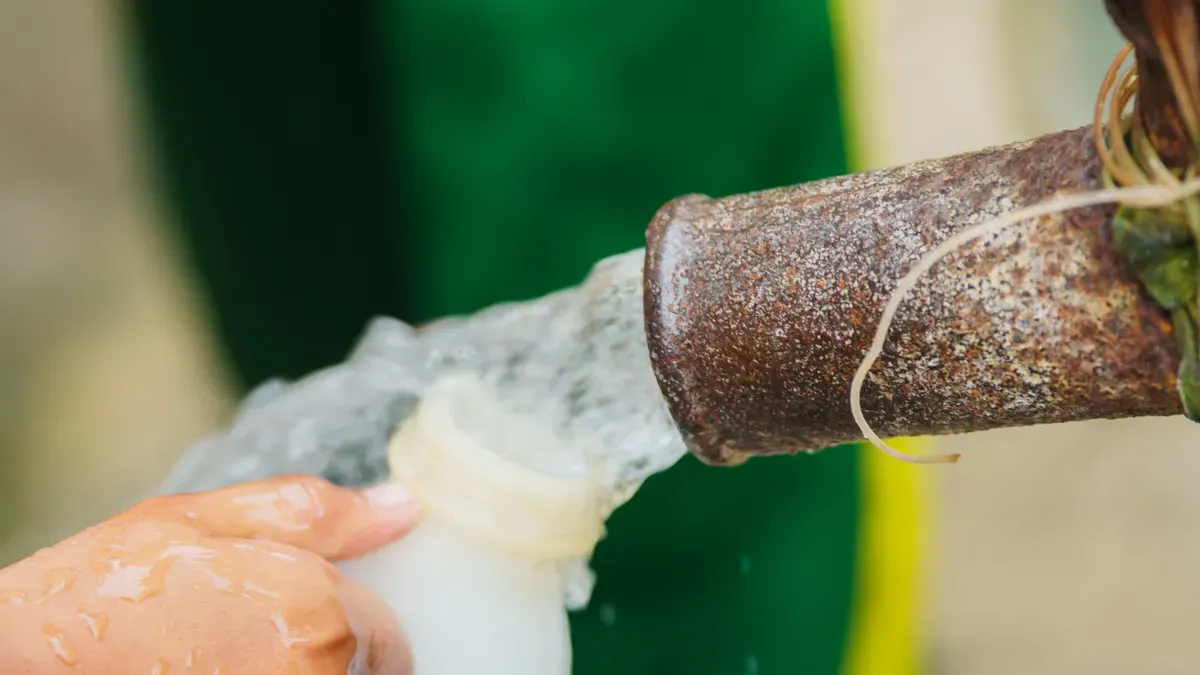
Inspecting Water Pump Weep Holes and Seals
Technical Insight: Fluid dripping directly beneath the pump pulley indicates internal shaft seal failure.
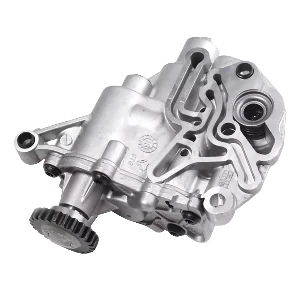
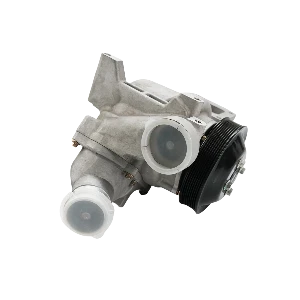
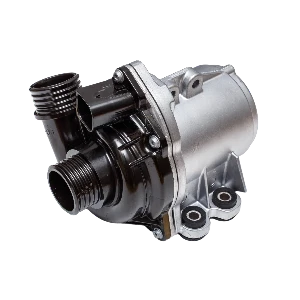
A failing water pump frequently causes unseen fluid reduction inside the Perkins engine. Mechanics should examine the water pump weep hole behind the belt pulley first. Internal bearing seal degradation causes small liquid drops to emerge from this drain cavity. Over time, shaft wobble damages the mechanical seal face completely. This failure allows pressurized engine coolant to escape during heavy operation under high engine load. Unchecked fluid seepage leads to severe coolant loss and localized engine overheating. Technicians must address a small fluid leak early by upgrading to a reliable OEM-spec Water Pump to prevent total pump failure and severe Perkins engine shutdown.
Checking Thermostat Housing and Gasket Joints
A failing thermostat housing gasket represents another common point of thermal failure on an engine block. Thermal stress causes mating flanges to warp, creating small gaps along the joint surface. Dried chemical deposits around housing seams signal persistent external coolant leaks. Technicians should inspect all mounting bolts for proper torque specs to protect critical engine components from engine damage.
|
Leak Location |
Visual Warning Signs |
Recommended Action |
|
Water Pump Weep Hole |
Fluid seepage near front pulley |
Replace entire pump assembly |
|
Thermostat Flange |
Early warning indications at joint |
Replace housing gasket and thermostat |
Replacing compromised cooling system components restores overall Perkins engine reliability. Experienced technicians recommend installing heavy-duty replacement parts from Megawatts Parts. Sourcing precise Perkins water pumps, housing gaskets, and thermostat units guarantees exact fitment. High-quality components protect the Perkins engine from catastrophic thermal damage and unexpected power drops. Early visual checks help technicians identify a bad leak before a dashboard warning illuminates.
Step-by-Step Water Pump and Thermostat Replacement
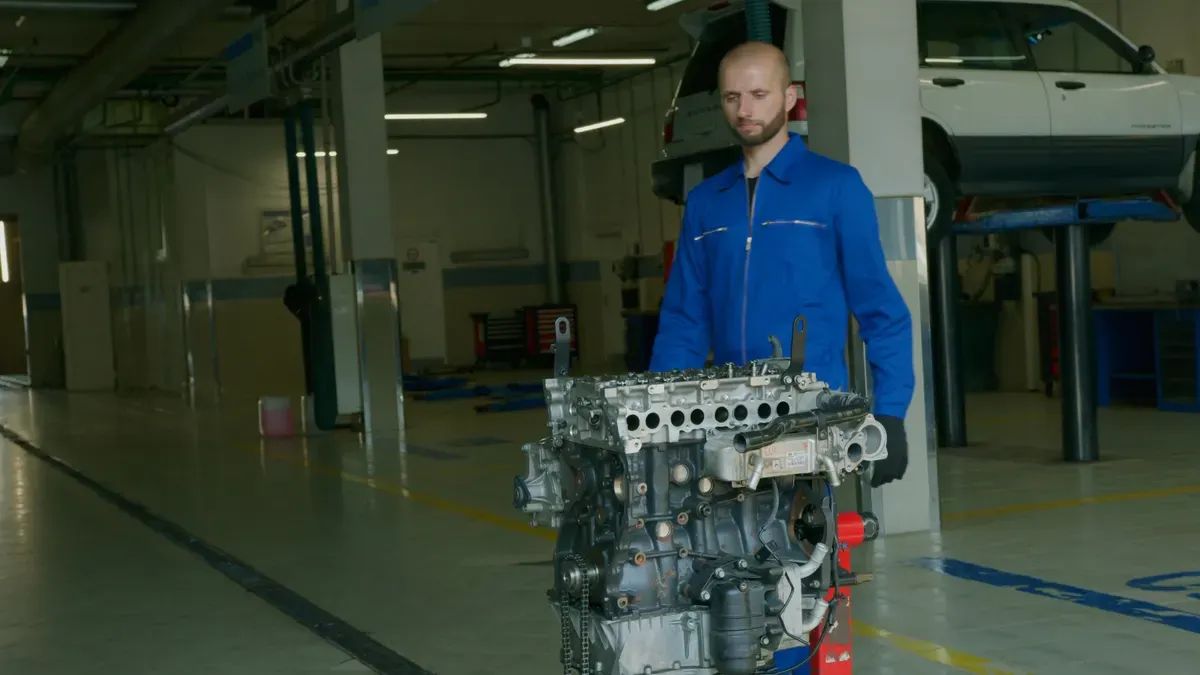
Testing and Replacing the Thermostat Assembly
A dashboard warning indicates thermal distress inside heavy machinery. Technicians must verify thermostat functionality before installing new parts into the cooling circuit. Bench-testing prevents the installation of defective units. Place the thermostat into a container of water with a thermometer. Heat the liquid gradually to measure the exact opening temperature.
Tech Tip: The Perkins thermostat valve should start opening around 82°C (180°F) and fully extend by 93°C (200°F).
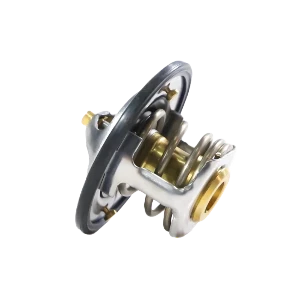
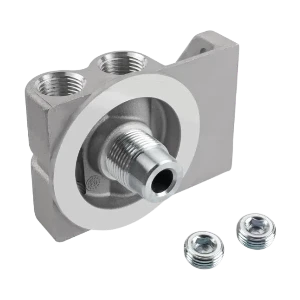
Replace the unit immediately if the valve fails to open within factory specifications. Browse our premium Thermostat inventory to find the exact match for your Perkins engine, ensuring precise temperature control and preventing future thermal shutdowns.
To replace the assembly:
- Disconnect the upper radiator hose.
- Remove the two housing bolts.
- Clean all mating surfaces on the Perkins engine block.
- Seat the new unit with a fresh housing gasket.
Tighten the housing bolts evenly to avoid warping the housing flange. Proper assembly prevents trapped air pockets and protects engine components from severe thermal stress.
Removing and Installing the Water Pump
Warning: Never drain hot coolant from a warm engine. High thermal pressure causes severe skin burns.
Follow these systematic steps to complete the replacement procedure safely:
- Drain the System: Allow the engine to cool completely. Open the drain valve at the bottom of the radiator. Collect the old coolant in a clean container for proper disposal.
- Remove Drive Belts: Loosen the alternator tensioner bolt. Slide the drive belt off the water pump pulley. Inspect the belt for cracking or friction wear.
- Dismantle the Old Pump: Unbolt the pulley and remove the mounting bolts. Pull the old pump away from the Perkins timing case housing.
- Inspect Internal Cavities: Check the internal impeller for cavitation damage, erosion, or loose blades. Cavitation reduces coolant flow rates significantly during high engine output. Clean any scale build-up from the internal engine passages.
- Prepare New Hardware: Clean the mounting face on the front housing thoroughly.
- Additional Requirement: Apply Powerpart threadlock nutlock to the first three threads of the bolts prior to installation and follow the numerical tightening sequence.
- Mount the New Pump: Fit a new O-ring gasket. Align the pump body on the front housing carefully. Insert the nine bolts and torque them in a crosswise numerical pattern.
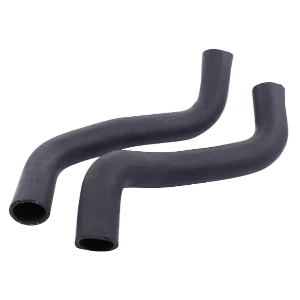
Reattach the drive belt and adjust tension to prevent belt slippage under engine load. Reconnect all Radiator Hose fittings securely—replacing any that show signs of brittleness—before refilling clean coolant into the Perkins engine. Completing this mechanical procedure ensures efficient coolant circulation and restores reliable engine operation.
Bleeding the Cooling System to Prevent Overheating
Purging Trapped Airlocks from Coolant Passages
Air pockets trapped inside internal coolant passages cause severe engine damage. Air bubbles block regular fluid flow through the block. This localized restriction creates isolated hot spots, leading to rapid engine overheating during heavy operation. Technicians must perform complete air purging after replacing internal engine components.
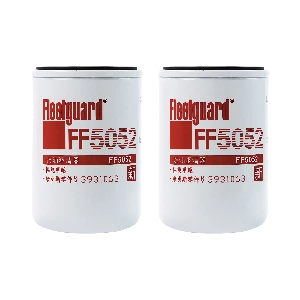
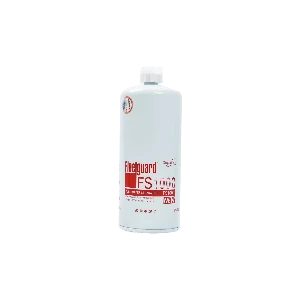
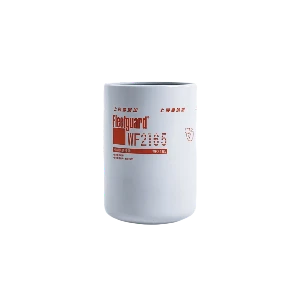
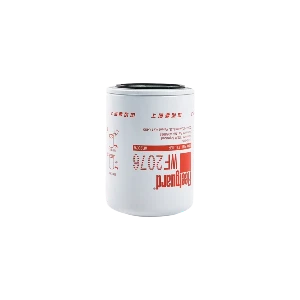
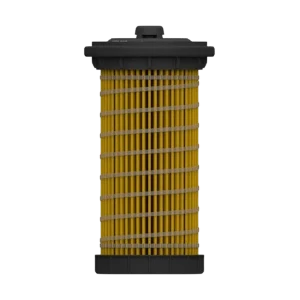
Equip the system with new Coolant Filters to trap abrasive impurities, then fill the radiator slowly with a fresh 50/50 coolant mixture. Keep the fill cap off and start the Perkins diesel unit. Let the engine idle until the thermostat opens completely. Trapped air bubbles will escape through the open filler neck as internal circulation stabilizes.
Final System Pressure Testing and Operation
A complete pressure test confirms system integrity before returning equipment to active service. Attach a cooling system pressure tester directly to the filler neck. Apply 15 psi to pressurize the system. Observe the pressure gauge closely for 10 minutes. A drop in pressure serves as a clear warning of lingering external leaks. Inspect all hose clamps, housing joints, and pump seals immediately.
Tech Tip: Never operate a Perkins engine with a loose drive belt. Correct belt tension prevents slippage, safeguards the engine against high thermal stress, and guarantees long-term engine performance.
Verify drive belt deflection under operational loads. Proper belt adjustment maintains correct water pump RPM and airflow across radiator fins. Regular routine maintenance prevents sudden power loss and protects internal engine parts. An early warning sign on the dashboard requires immediate inspection. Completing these final mechanical checks ensures reliable engine operation and protects your Perkins engine investment.
Resolving Perkins 1104 overheating requires accurate repairs. Mechanics must complete thermostat replacement, water pump installation, and air lock purging to protect every Perkins engine. Proactive engine maintenance minimizes system downtime and prevents costly engine overhauls. Sourcing durable components directly from Megawatts Parts prevents power drops in your Perkins generator set while maximizing long-term engine lifespan.
Tech Tip: Consistent care protects internal engine components, optimizes fuel consumption, and lowers parasitic energy loss.
Perform visual checks for weep hole leaks to repair a fluid leak before engine breakdown occurs. Proper engine belt adjustments maintain airflow, ensuring total engine performance, engine health, and engine output.
FAQ
How do I identify Perkins 1104 overheating early?
Tech Tip: Early visual checks prevent costly internal overhauls.
Watch for dashboard gauge spikes and temperature warning lights on your engine. Look for fluid seepage near the engine water pump weep hole. Check radiator fins for blockage regularly. Early intervention prevents engine cylinder head warping and expensive internal engine damage.
What causes persistent coolant leaks in this engine model?
Worn mechanical shaft seals inside the water pump cause persistent coolant leaks. Warped thermostat housing mating flanges also let fluid escape under pressure. Inspect all housing joint gaskets and hose clamps during routine engine maintenance to catch a small fluid leak quickly.
How does a stuck thermostat trigger severe Perkins diesel engine problems?
A thermostat stuck closed blocks coolant movement to the radiator completely. Heat builds rapidly inside the engine cylinder head after startup. This thermal restriction creates localized hot spots, leading to blown head gaskets, power loss, and major Perkins diesel engine problems across heavy equipment applications.
Why must mechanics bleed the cooling system after installing replacement parts?
Trapped air pockets create dangerous airlocks inside internal engine water jackets. Airlocks stop effective thermal transfer from hot engine surfaces. Purging air completely stabilizes internal cooling system pressure, protects critical engine components from thermal shock, and prevents unexpected engine shutdowns under heavy operating loads.
What routine visual checks prevent major cooling failures?
- Inspect the front water pump drain hole daily for fluid drips.
- Check drive belt tension on the engine pulley to prevent slipping.
- Look for chemical residue around engine housing seams to detect minor leaks before sudden operational failures occur.
Previous And Next
-
Previous Post:
 BLOG
BLOG Megawatts BlogIntroducing the components of a diesel engineIntroducing the components of a diesel engine A diesel generator set is a type of internal combustion generator set and is currently one of the most widely used power generation devices in the world....
 -
Next Post:
 BLOG
Megawatts BlogCaterpillar C15 Engine Rebuilds: Preventing Valve Train Wear and Head Gasket Blowouts Under Heavy LoadsHeavy-duty operations subject the Caterpillar C15 platform to extreme thermal stress and cylinder pressure, frequently leading to deck movement and catastrophic head gasket failure. To combat these re...
BLOG
Megawatts BlogCaterpillar C15 Engine Rebuilds: Preventing Valve Train Wear and Head Gasket Blowouts Under Heavy LoadsHeavy-duty operations subject the Caterpillar C15 platform to extreme thermal stress and cylinder pressure, frequently leading to deck movement and catastrophic head gasket failure. To combat these re...
Read More
-
 BLOG
Megawatts BlogStrategic Sourcing: How to Build a Standardized Generator Sets Parts Catalog for Mixed FleetsManaging a mixed fleet of Cummins, Perkins, and Caterpillar generators often creates a hidden financial drain through inventory duplication and fragmented procurement. When different brands use differ...
BLOG
Megawatts BlogStrategic Sourcing: How to Build a Standardized Generator Sets Parts Catalog for Mixed FleetsManaging a mixed fleet of Cummins, Perkins, and Caterpillar generators often creates a hidden financial drain through inventory duplication and fragmented procurement. When different brands use differ... -
 BLOG
Megawatts BlogDiesel Generator Won't Crank: A Step-by-Step Electrical Diagnostic Checklist for MechanicsWhen a diesel generator won't crank, check the electrical system first. Do not chase fuel or mechanical theories yet. Low battery voltage and corroded connections cause most no-start condition calls....
BLOG
Megawatts BlogDiesel Generator Won't Crank: A Step-by-Step Electrical Diagnostic Checklist for MechanicsWhen a diesel generator won't crank, check the electrical system first. Do not chase fuel or mechanical theories yet. Low battery voltage and corroded connections cause most no-start condition calls.... -
 BLOG
Megawatts BlogMagnetic Coil Degradation: Why Your Diesel Engine Stop Solenoid Fails Under Extreme HeatExtreme heat is the primary enemy of a diesel engine stop solenoid. The heat breaks down the electrical insulation inside the magnetic coil. This degradation raises resistance and creates short circui...
BLOG
Megawatts BlogMagnetic Coil Degradation: Why Your Diesel Engine Stop Solenoid Fails Under Extreme HeatExtreme heat is the primary enemy of a diesel engine stop solenoid. The heat breaks down the electrical insulation inside the magnetic coil. This degradation raises resistance and creates short circui... -
 BLOG
Megawatts BlogThe Hidden Cost of Expired Inventory: Shelf Life and Proper Storage of Rubber Gasket Seal KitsA gasket seal kit sits untouched for five years. You paid for it. Now you pay to dispose of it. When a failure occurs, you pay a premium for emergency replacement. These hidden costs accumulate silent...
BLOG
Megawatts BlogThe Hidden Cost of Expired Inventory: Shelf Life and Proper Storage of Rubber Gasket Seal KitsA gasket seal kit sits untouched for five years. You paid for it. Now you pay to dispose of it. When a failure occurs, you pay a premium for emergency replacement. These hidden costs accumulate silent...
Subscribe to enjoy 10% off
Stay informed about new products and sales

-
INFORMATION
Contact Us
-
CHINA SALES OFFICE: No. 2-11, No. 8, Gaotai Road, Gaishan Investment Zone, Cangshan District, Fuzhou, Fujian
-
SAUDI ARABIA FACTORY: 7264 Shakra, Al Faisaliyyah, REFB3035, 3035, Riyadh 12883
-
COLOMBIA SALES OFFICE: 92-32 26th Street, 03-118, Bogota
-
NIGERIA FACTORY: Plot 5 Chivita Avenue Ajao Estate Isolo Lagos
-
Email:sales@megawattsparts.com
Follow Us


Copyright © 2025 Megawatts All Rights Reserved.



Select Previous Button or Search Directly on Search Bar!
Shop All
 English
Currency: <{ pagedata.current_currency }>(<{ pagedata.current_currency_code }>)
Are you in the right place?

You agree to MegaWatts.com's Terms of Use and Privacy Policy by subscribing. You may receive emails with useful tips, promotions, and offerings.
No, thanks. I'd rather pay full price.